
The plank looks deceptively simple — hold your body in a straight line, don’t move — but it’s one of the most efficient core exercises ever invented. Done right, it trains your abs, obliques, glutes, shoulders, and even your quads to stabilize as a single unit, which is exactly how your body needs to work in the real world. Done wrong, it’s a recipe for a sore lower back and zero progress. This guide walks through the exact mechanics, the most common form mistakes, how long to actually hold it, and a progression plan that gets you from shaky 20-second holds to controlled two-minute planks.
Quick Hit
The standard plank works best when held with neutral spine for 20–60 seconds, three to five rounds. Going longer than 60 seconds usually means form has broken down. Quality beats duration every time.
What the plank actually trains
The plank is an isometric exercise, meaning your muscles contract without changing length. There’s no movement, just tension. That sounds boring on paper, but isometric work is uniquely good at building the kind of deep stability your spine needs to stay safe during every other lift you do.
The primary movers are your rectus abdominis (the six-pack muscle), transverse abdominis (the deep corset-like layer underneath), and obliques on the sides. But you’re also recruiting your glutes to keep your hips from sagging, your shoulders and serratus to lock the upper body, and your quads to keep the legs rigid. A well-held plank is a full-body event.
How to do a plank with perfect form
There are two main versions: forearm (elbow) plank and high (straight-arm) plank. Forearm is the default and usually easier on the wrists. Here’s the step-by-step.
The forearm plank, step by step
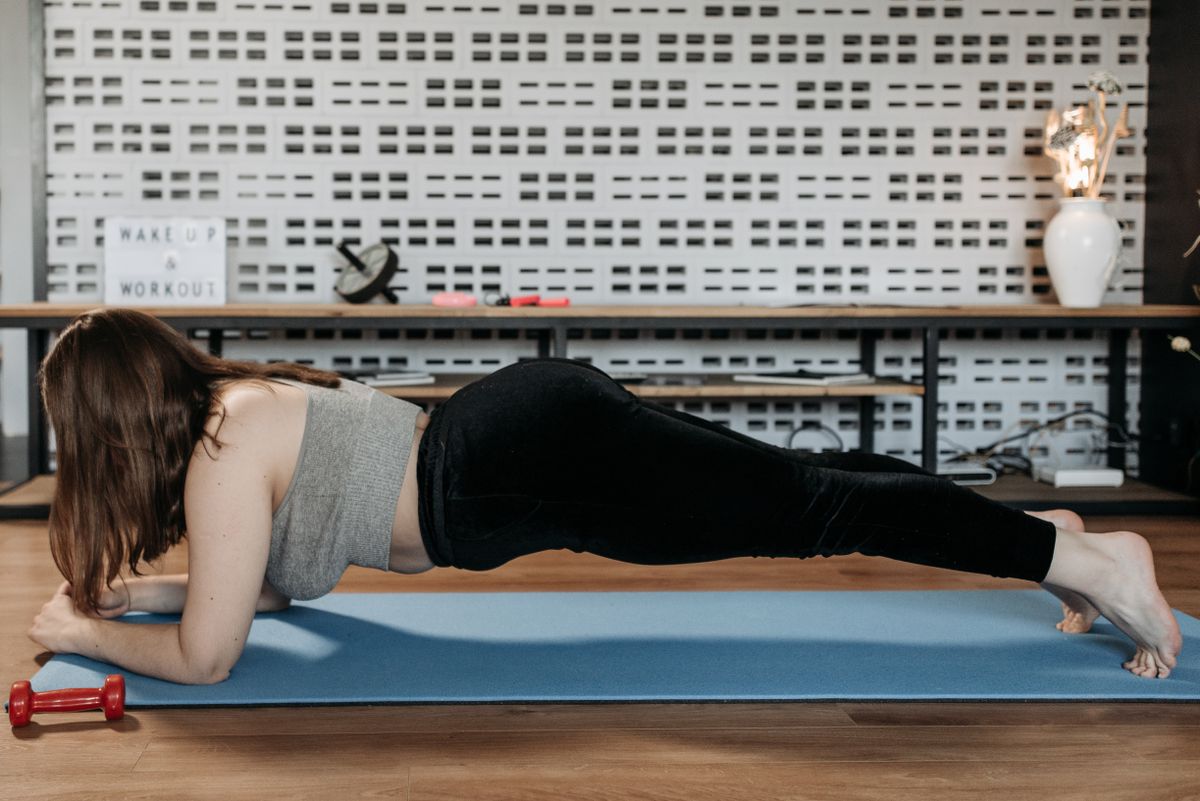
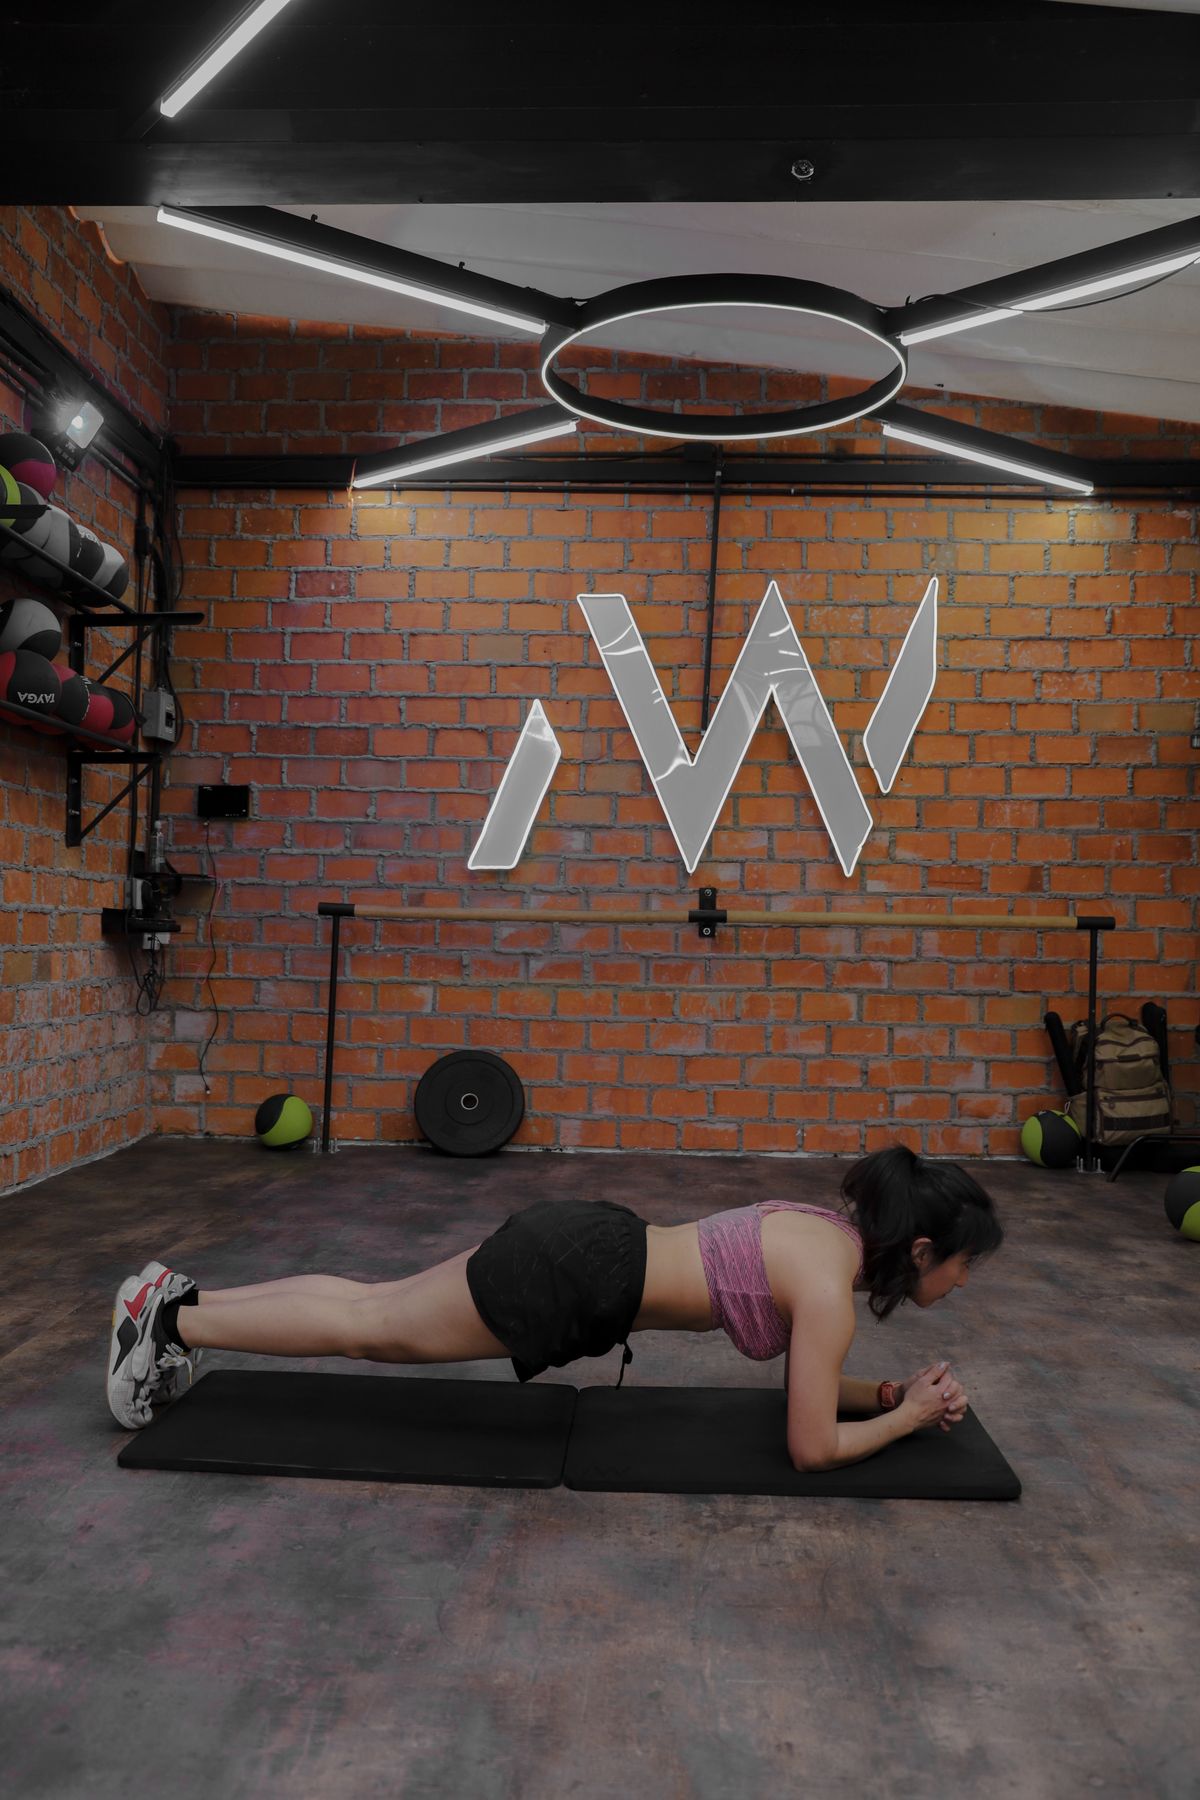
Start face-down on a mat. Place your forearms parallel to each other, shoulder-width apart, elbows directly under your shoulders. Tuck your toes under and push your hips up so your body forms a straight line from heels to head.
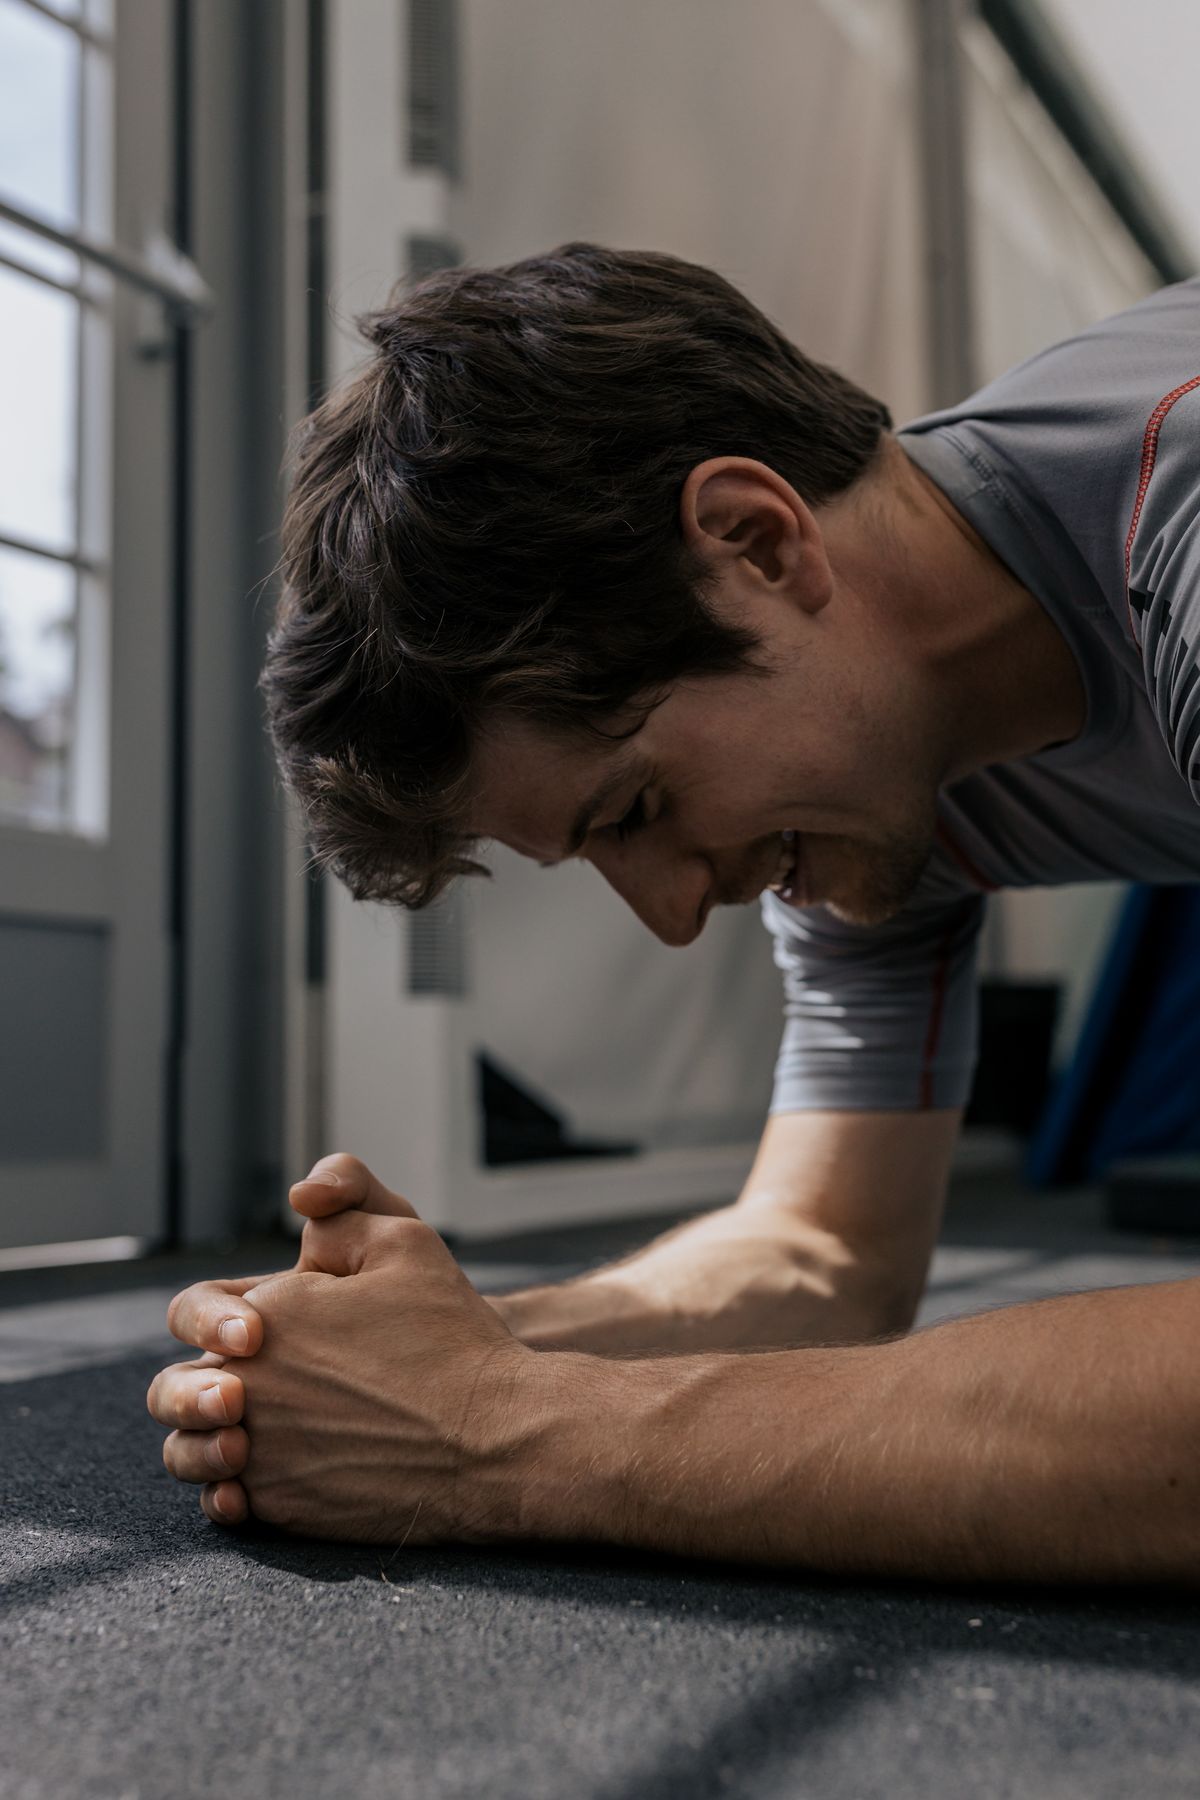
Squeeze your glutes hard. Pull your belly button toward your spine without holding your breath. Press your forearms firmly into the floor and lengthen the back of your neck — your gaze should be on the mat about 6 inches in front of your hands, not up at the wall.
Breathe slowly through your nose. Hold for time. Lower your knees to rest between rounds rather than collapsing all at once.
Cues that fix 90% of plank problems
Three internal cues take care of most form issues. First, “squeeze a quarter between your butt cheeks” — this fires the glutes and locks the pelvis. Second, “pull your elbows toward your toes” without actually moving them — this engages the lats and stabilizes the shoulder girdle. Third, “long neck, soft eyes” — this keeps the cervical spine neutral.
The five most common plank mistakes
If your plank feels easy and you’re holding for three minutes, one of these is almost certainly happening.
1. Hips sagging toward the floor
This is the cardinal sin. When the hips drop, the lower back arches and the work transfers from the abs to the lumbar spine. You’ll feel it as soreness in your lower back instead of your stomach the next day. Fix: squeeze the glutes harder and consciously tuck the pelvis.
2. Piking the hips up too high
The opposite mistake — sticking your butt in the air to make the hold easier. It turns the plank into a half-downward-dog and removes the core challenge entirely. Fix: have someone film you from the side, or set up a phone, and check the line from heels to head.
3. Holding your breath
Bracing isn’t the same as breath-holding. You need to be able to inhale and exhale while keeping the core tense. If you’re going purple, you’re doing too much.
4. Looking up at the wall
Craning the neck up compresses the cervical spine and makes the hold dramatically harder for the wrong reasons. Keep the gaze down and slightly forward.
5. Letting the shoulders shrug
Shoulders should be packed down and away from the ears, not creeping up. Think about pressing the floor away from you to engage the serratus and create space.
Form Check
Set your phone against a wall in horizontal mode and film yourself from the side. The line from your ankle to your hip to your shoulder should look like a single straight ruler. If it doesn’t, you’re not actually planking — you’re holding a position that looks like a plank.

How long should you hold a plank?
For most people, three to five sets of 20 to 60 seconds with one minute of rest between rounds is the sweet spot. A 2014 study from the Journal of Strength and Conditioning Research found that holding past about 60 seconds rarely adds training value for the core because by then, form is breaking and the brain is just running an endurance loop on the easiest stabilizers.
Stuart McGill — the spine biomechanics researcher whose work shaped most modern core training — has been openly skeptical of multi-minute plank holds for years, arguing that shorter, more focused holds with progressions are far more useful than chasing time records.
A six-week plank progression
If you’re starting from scratch, this is the simplest path to a strong, reliable plank:
Weeks 1–2: Forearm plank from knees, 3 rounds × 20 seconds, three times a week. Build base tension without the full lever.
Weeks 3–4: Full forearm plank, 3 rounds × 30 seconds. Add the toes-extended version once knees feel solid.
Week 5: 4 rounds × 45 seconds. Add a side plank on each side for 20 seconds at the end.
Week 6: 3 rounds × 60 seconds plus one round of plank with shoulder taps (lift one hand to touch the opposite shoulder without rotating the hips).
Plank variations to grow into
Once you can hold a clean 60-second forearm plank, stop adding time and start adding variety. Harder variations build more strength than longer holds of the basic position.
Side plank
Roll onto one forearm so your body is stacked sideways. Stack the feet (or stagger them for easier balance). Press the hips up and hold. The side plank trains the obliques and quadratus lumborum, both of which are critical for spinal stability.
Plank with shoulder taps
From a high plank, slowly lift one hand and tap the opposite shoulder, then return. Keep the hips dead-square — don’t let them rock side to side. This is anti-rotation training disguised as a plank.
RKC plank
A standard forearm plank done with maximum tension. Squeeze the glutes as hard as you can, drive the elbows toward the toes (without moving them), and brace the abs like you’re about to be punched. Most people can only hold this version for 10–20 seconds, and that’s the point.
Plank with leg lift
Hold a forearm plank and slowly lift one foot a few inches off the floor. Hold five seconds, lower, switch. The single-leg version cranks up glute and core demand without adding time.
Forearm plank vs. high plank: which is better?
Both work, but they emphasize slightly different things. The forearm version puts more load on the abs and forearms and is generally easier on the wrists. The high (straight-arm) version adds more shoulder and serratus demand, which is useful if you want to build pushing strength alongside core work.
If you have wrist or shoulder issues, the forearm plank is the safer default. If you’re a lifter looking to reinforce a strong overhead position, throw in straight-arm planks too. Most people benefit from doing both in rotation.
Speaking of progressions, if you’re working on your push-day strength as well, check out our guide to your first pull-up — the same anti-shrug shoulder packing that makes a great plank also unlocks a stronger pull-up.
How often should you plank?
Three to five days a week is plenty. The core recovers fast, so you don’t need to space it out as carefully as you would for squats or deadlifts. But planking every single day with no progression is a waste — the same 30-second hold isn’t going to keep building anything past month one.
Better to plank harder, not longer. Add tension, add variations, switch up the angle. If you’re already doing a serious lifting program, two to three plank sessions a week is enough — the heavy compound work is already training your core under load.
Common mistakes when programming planks
Treating it as the only core exercise
Planks train anti-extension (resisting the lower back arching) and anti-lateral-flexion (in the side plank version). They don’t train rotation or anti-rotation against load, and they don’t load the spine through any range of motion. A complete core program also includes dead bugs, Pallof presses, and some kind of loaded carry like a farmer’s walk.
Going for a daily PR
Trying to set a personal best every day burns out the central nervous system without producing strength gains. Reserve long-hold attempts for once every two or three weeks, and spend the rest of your training cleaning up form and adding variations.
Skipping the warm-up
Cold core muscles brace poorly. A quick cat-cow, a couple of glute bridges, and 30 seconds of bird-dog before your first plank set makes the held position feel dramatically more stable.
Plank FAQ
Will planks give me a flat stomach?
Planks build core strength, but they don’t burn fat in any region-specific way. A flatter stomach comes from overall caloric balance plus general strength training. The plank is a foundation for that — it makes every other lift safer and more efficient — but it isn’t a fat-loss tool on its own. Pair it with a sensible nutrition approach and a full strength program.
How long should a beginner hold a plank?
Start with 15–20 seconds from your knees, three rounds. Build to a clean 30-second hold on your toes before chasing longer times. Most people can get there in two to three weeks with consistent practice.
Is two minutes a good plank time?
Two minutes with perfect form is impressive, but it’s not the goal for most people. After 60 seconds, you’re mainly training endurance in the easiest stabilizers. If you can already hold a clean 60 seconds, switch to harder variations rather than chasing longer times.
Why does my back hurt when I plank?
Almost always a hip sag. The lower back arches to compensate when the glutes and abs aren’t doing their job, and that arching is what you’re feeling the next day. Squeeze the glutes harder, tuck the pelvis slightly, and shorten your holds until the form is clean.
Can I plank every day?
You can, but you shouldn’t do the same plank every day. Daily planking with rotation through variations (forearm, side, high, single-leg) works well. Daily 60-second forearm holds with no progression stop producing results within a few weeks.
Are planks better than sit-ups?
For most goals, yes. Sit-ups load the lumbar spine in repeated flexion, which is one of the patterns most associated with back pain. Planks train the same musculature without that compression. If you want spinal flexion work, a controlled crunch with a small range of motion is gentler than a full sit-up.
Does the plank work the lower abs?
The plank works the entire rectus abdominis along its full length — there’s no real anatomical separation between “upper” and “lower” abs. The deep transverse abdominis, which wraps around like a corset, is actually working harder than the visible six-pack muscle during a clean plank.
What if I have wrist pain in a high plank?
Switch to forearm planks, or try gripping a pair of dumbbells in the high plank position so your wrists stay neutral instead of bent back. Wrist mobility work — gentle flexion and extension stretches — between sessions also helps over time.
Keep going
The plank is a foundation, not a finish line. Once you’ve nailed it, build the rest of your core and full-body strength around it. Browse more workout guides on EatFitFuel to find your next progression.
Related on EatFitFuel