
The pull-up is one of the highest-ROI strength movements you can learn — and one of the most demoralizing to attempt cold. Hang from a bar your first time and most adults can’t budge themselves more than an inch. The good news: getting to your first pull-up is a predictable progression, not a mystery. Anyone with reasonable health and 6-12 weeks of consistent work can do one. Here’s how to do a pull-up correctly, how to build to your first one, and how to keep adding reps once you have one.
- The form: Dead hang → squeeze shoulder blades → pull until chin clears the bar → lower with control
- Beginner timeline: 6-12 weeks of progression for most healthy adults
- Best progression tools: Negative pull-ups, banded pull-ups, lat pull-downs
- Common mistakes: Kipping/swinging, partial range of motion, dead-hang fear
- Frequency: 2-3 sessions per week — pull-ups recover slower than most movements
What a proper pull-up looks like
A strict pull-up has five phases. Each one matters more than people realize — most form problems show up in one specific phase.
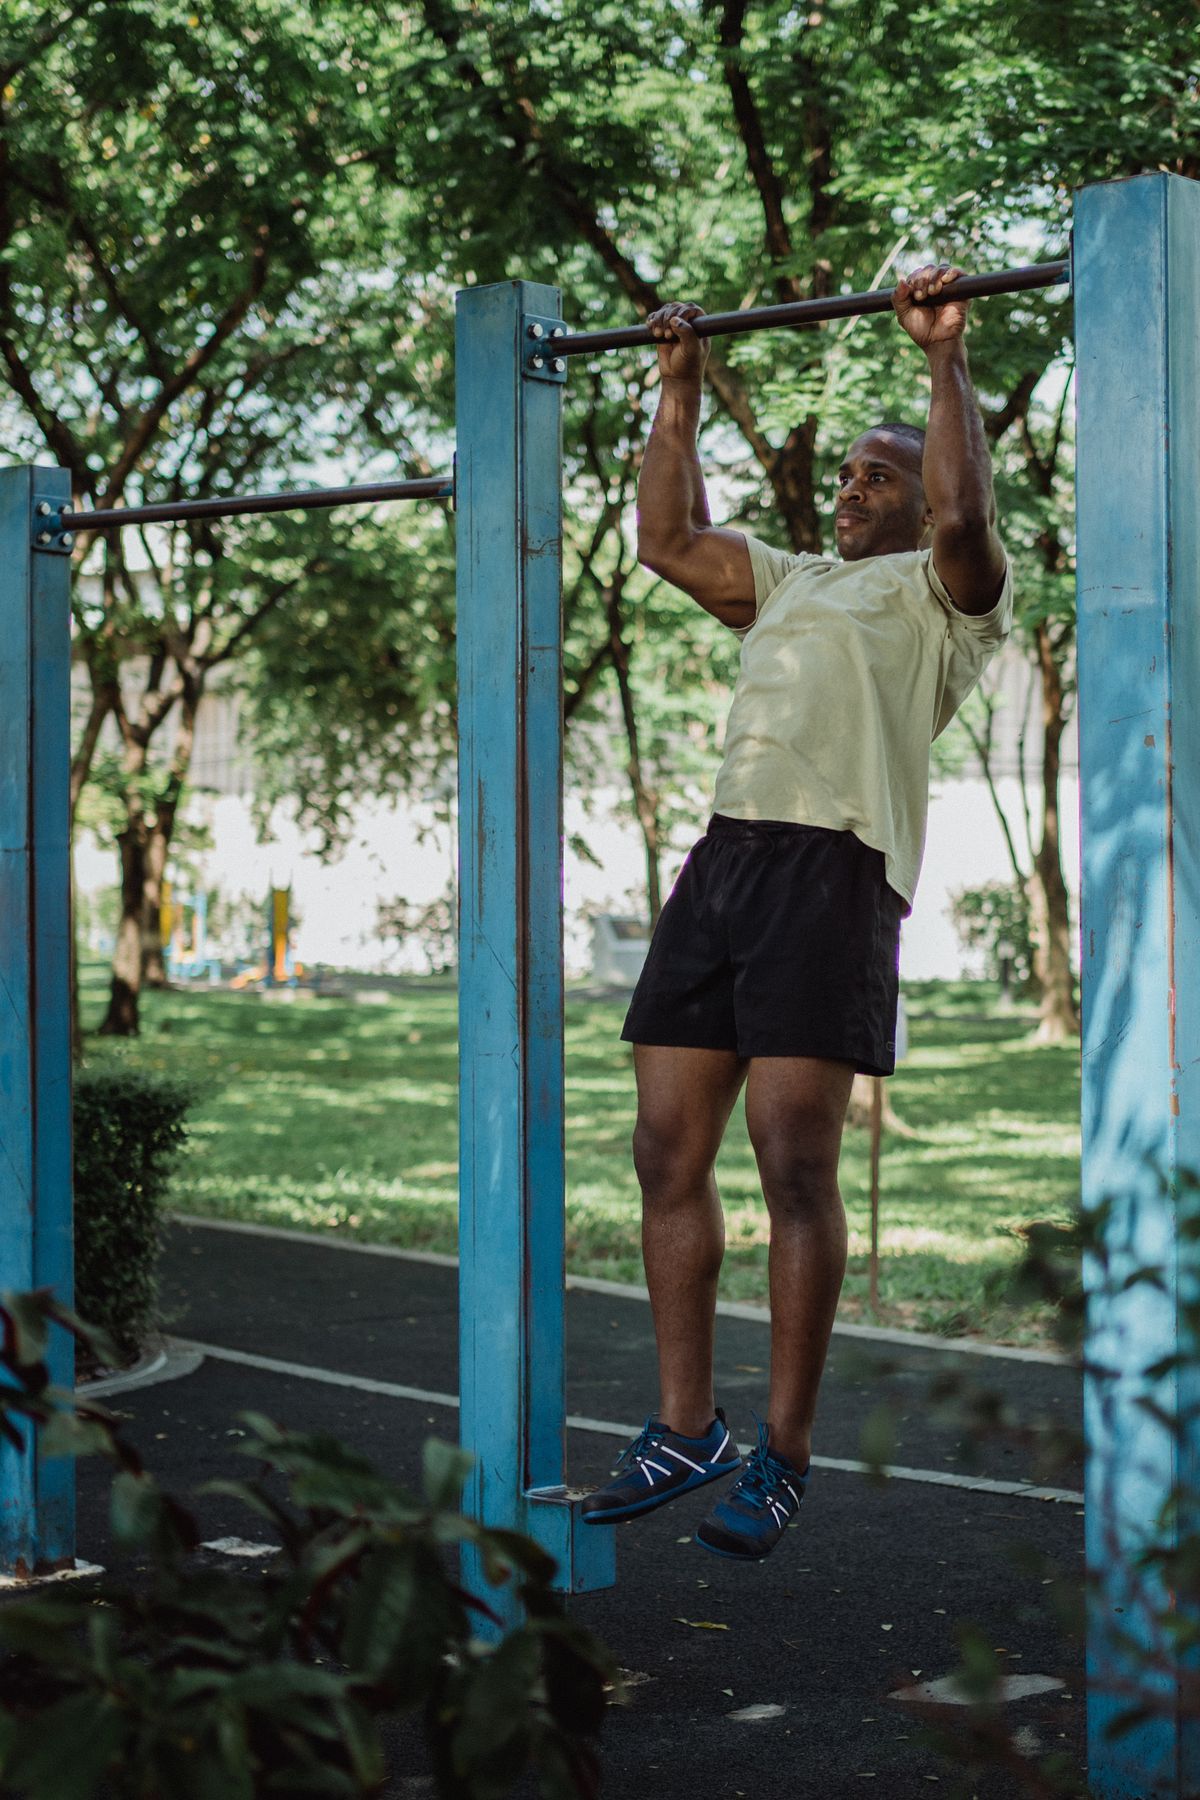
1. The hang (start position). Grip the bar slightly wider than shoulder-width with palms facing away (overhand grip). Arms fully extended. Body hanging straight down. Shoulders should feel “loose” at this point — not yet engaged. This is also called the “dead hang.”
2. Scapular set. Before bending your elbows at all, squeeze your shoulder blades down and back, as if you’re trying to tuck them into your back pockets. This activates your lats and is the move that engages the right muscles to do the pull. Skip this and you’ll be hauling yourself up with your biceps, which gives out fast.
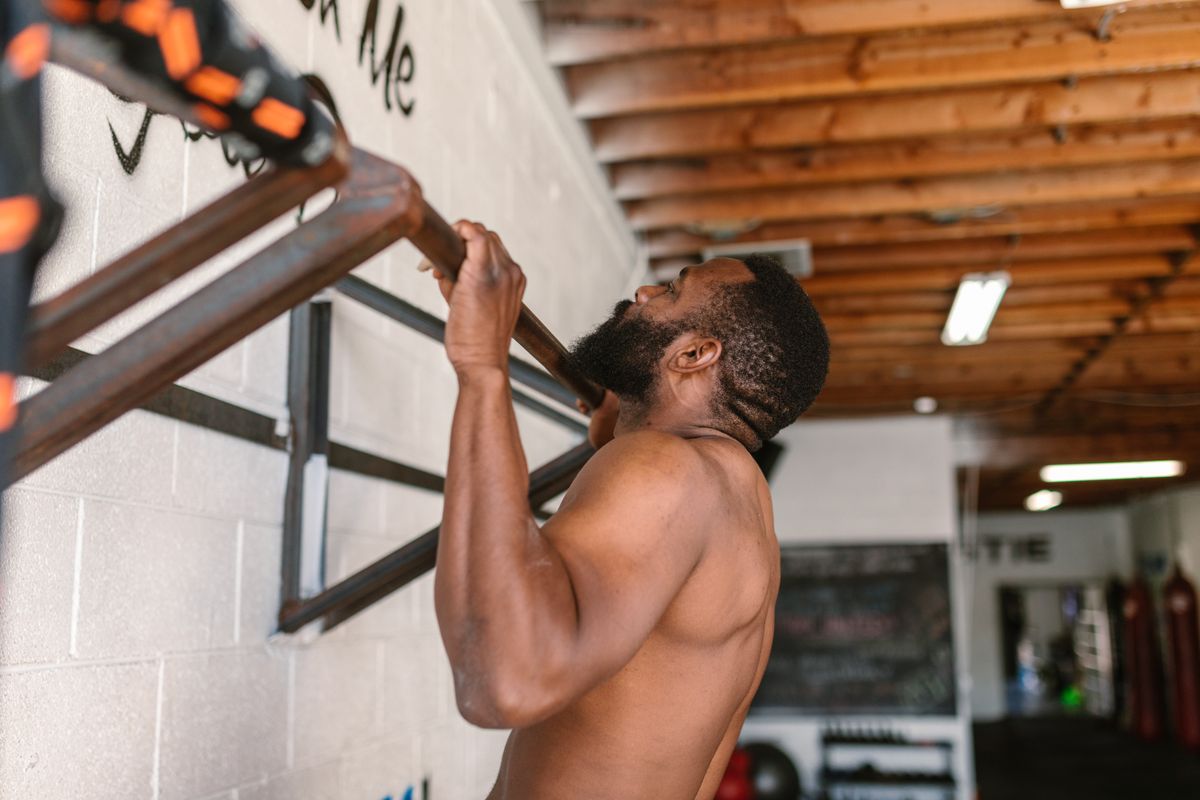
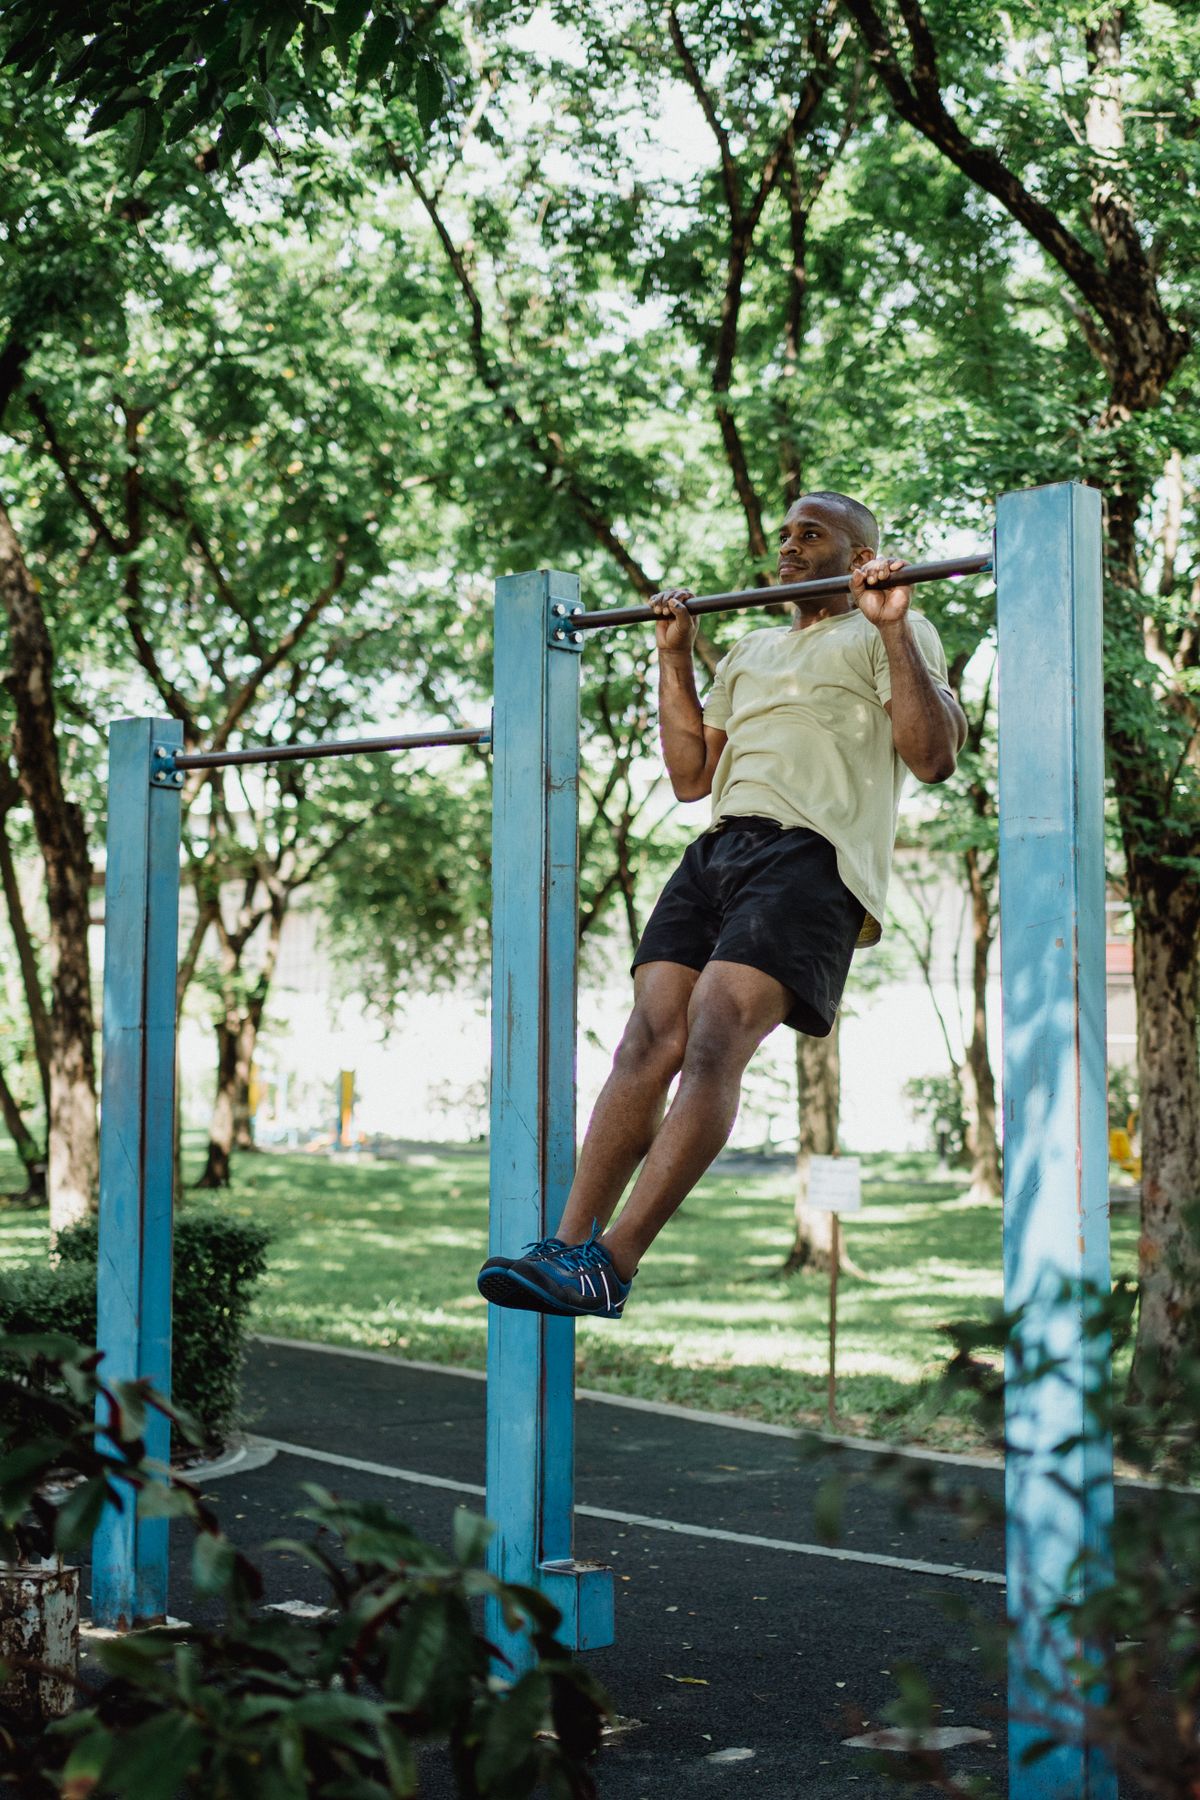
3. The pull. Drive your elbows down toward your hips. Chest moves up toward the bar. Don’t shrug — your shoulders should be staying down, not coming up to your ears. The lats are doing the work; biceps are a secondary mover. Continue until your chin clears the bar.
4. Top position. Chin clears the bar. Chest is forward (not collapsed). Pause for a half-second if you’re training for max effort.
5. Controlled descent (eccentric). Lower yourself back to the dead-hang position over 2-3 seconds. Resist the urge to drop. The eccentric phase is where most of the strength gain happens — dropping wastes it.
Pull-up vs. chin-up: what’s the difference?
The grip is the only difference, but it changes which muscles do the most work:
Pull-up (overhand grip): Palms facing away from your body. Targets the lats more, biceps less. Harder for most beginners.
Chin-up (underhand grip): Palms facing toward you. Targets the biceps more, lats slightly less. Easier for most beginners — typically people can do 1-2 more chin-ups than pull-ups at the same fitness level.
Neutral grip (parallel handles): Palms facing each other. The most shoulder-friendly variation. A middle ground between pull-up and chin-up in difficulty.
If you’re brand new, start with chin-ups — they let you build the basic pulling pattern with a slightly easier biomechanical advantage. Add pull-ups once you can do 5 strict chin-ups.
How to do your first pull-up (the progression that works)
If you can’t yet do a strict pull-up, this 4-step progression will get you there in 6-12 weeks. The key is doing all four progressions concurrently — not finishing one before starting the next.
Step 1: Dead hangs
Just hang from the bar. Build up to 30-second holds for 3 sets. This develops grip strength and shoulder stability — the foundations that prevent injury and let you train other progressions hard.
How often: 3 sessions per week. Goal: 3 × 30 seconds before moving on to harder progressions.
Step 2: Scapular pulls
Hang from the bar. Without bending your elbows, pull your shoulder blades down and back. Your body should rise about 2-3 inches. Pause, then lower. This teaches scapular activation — the move most beginners skip entirely.
How often: 3 sessions per week. Goal: 3 sets of 8-10 reps.
Step 3: Negative pull-ups (the most important step)
Use a box or jump to get your chin over the bar. From the top position, lower yourself slowly to a dead hang — taking 4-5 seconds for the descent. Step back up. Repeat.
Negative pull-ups are the single most effective tool for building pull-up strength. You can handle more weight on the eccentric (lowering) phase than on the concentric (pulling) phase, which means you’re training stronger than you can lift.
How often: 2-3 sessions per week. Goal: 3 sets of 5 reps with a 5-second descent each. When you can do that, you’re typically ready for a full pull-up.
Step 4: Banded pull-ups (assistance)
Loop a long resistance band over the pull-up bar and step into the bottom loop. The band pushes you up, removing some of your bodyweight from the equation. Pull through the full range.
Band sizes: Start with a “light” or “medium” band (typically 15-25 lbs of assistance). As you get stronger, switch to lighter bands until you’re doing the motion unassisted.
How often: 2-3 sessions per week. Goal: 3 sets of 8 strict reps with a light band.
Lat pull-down machines do NOT translate well to pull-ups. They train a similar movement but in a fundamentally different way — your body is fixed, the bar moves. Pull-ups move your body against gravity. People who do 200-lb lat pull-downs often still can’t do one bodyweight pull-up. Spend your time on the actual bar, not the machine.
Common pull-up mistakes
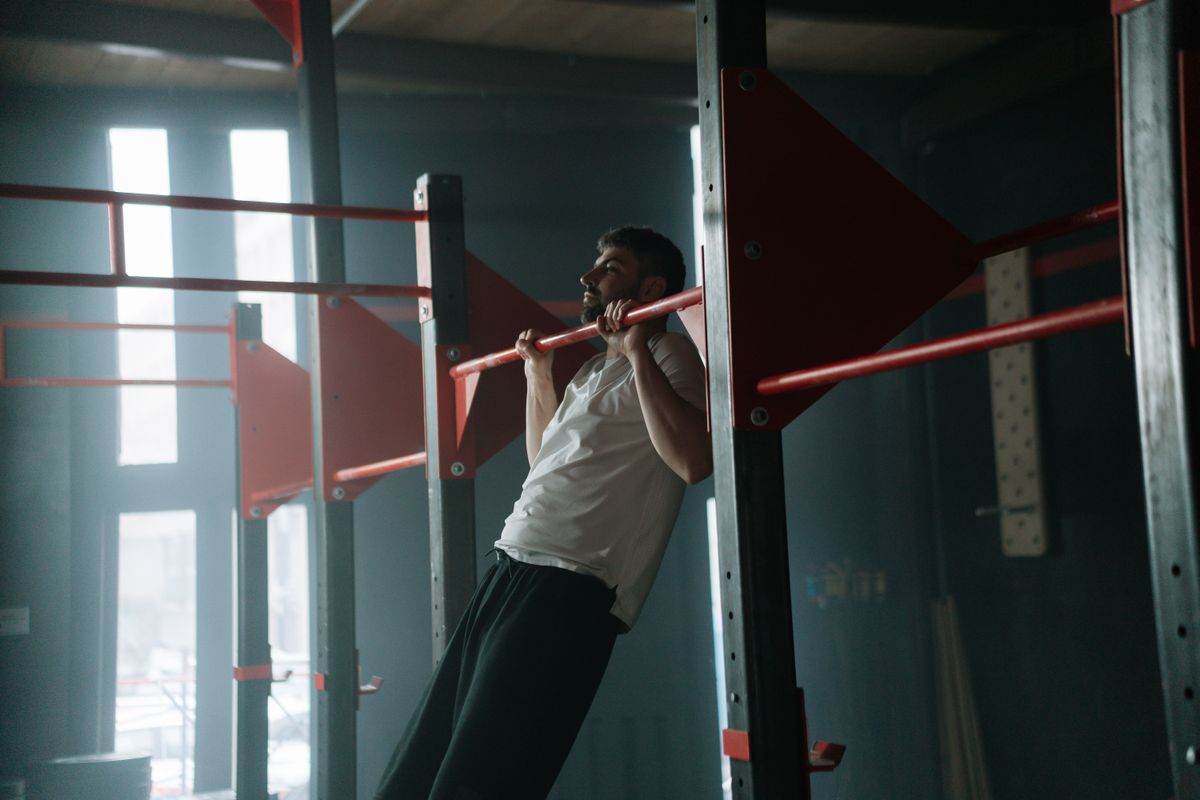
Kipping (swinging). CrossFit-style kipping pull-ups use momentum from a swing to get the body up. They have their place in competition but should NOT be how you learn pull-ups — they ingrain the wrong movement pattern and can stress the shoulder joint. Strict reps only until you have at least 10 strict reps.
Partial range of motion. Not lowering to a full dead hang at the bottom, or stopping with the bar in front of your nose instead of clearing your chin. Half-reps build half the strength. Full range every time.
Dropping after the rep. Letting yourself fall back to dead hang in a half-second wastes the eccentric phase entirely. Control the lowering over 2-3 seconds.
Using only the biceps. If your biceps fatigue before your back does, you’re not engaging the lats properly. The scapular set is what activates the lats. Without it, you’re doing a slow, terrible bicep curl.
Shrugging at the top. Your shoulders should stay DOWN throughout the rep. If they’re creeping up to your ears at the top, you’re recruiting the upper traps instead of the lats. Stop, reset, and try again.
Looking up. Tilting your head back to “see” the bar puts strain on your neck. Look straight ahead or slightly down. Your chin should clear the bar without you craning your neck.
How long until I can do a pull-up?
Highly variable, but typical timelines for healthy adults training consistently:
- Already strong (lifts regularly, body weight under 200 lbs): 4-8 weeks
- Average fitness, healthy weight: 8-12 weeks
- Untrained or carrying extra weight: 12-20 weeks
- People over 50 starting from low fitness: 16-24 weeks
The biggest factor isn’t age or genetics — it’s bodyweight relative to back/arm strength. Heavier people need to lift more body, so they need more strength to do the same movement. Dropping bodyweight while training accelerates pull-up progress.
Once you have one: building to 10+
After your first strict pull-up, the next milestones come faster than you’d expect:
From 1 to 5 reps: Do “grease the groove” — multiple sets of 1 rep throughout the day, every day, with 4+ hours between sets. Most people add 1-2 reps to their max within 2-3 weeks.
From 5 to 10 reps: Switch to traditional sets and reps. 3-4 sets of 80% of your max, 3 times per week. Progressively add a rep per set per week.
From 10 to 20 reps: Add weighted pull-ups (dumbbell between feet, weight belt, or weighted vest) on heavy days. The added load builds strength that transfers to higher rep counts.
20+ reps: You’re in advanced territory. Focus on variations (L-sit pull-ups, archer pull-ups, one-arm progressions) rather than just adding more reps.
Equipment: what you actually need
A pull-up bar. Three reasonable options:
- Doorway bar ($25-40): No installation, uses leverage to mount in any doorframe up to 36″ wide. Holds 300+ lbs. Iron Gym is the standard option.
- Wall-mounted bar ($50-100): Permanent installation in a stud or concrete wall. Better grip variety. Solid for serious training.
- Power tower / pull-up station ($100-200): Standalone with dip bars and an ab station too. Best if you have floor space and want one piece of equipment for multiple exercises.
A long loop band (optional). $15-25 for a set. Used for assisted pull-ups. Buy a set with multiple resistance levels so you can decrease assistance as you get stronger.
Chalk or chalk alternative (optional, advanced). Once you’re doing higher rep sets, sweaty hands become a grip-strength limiter. A small bag of gym chalk solves this.
You don’t need: Gloves (they reduce grip contact), wrist wraps, lifting straps (defeats the purpose of grip work), or specialized “pull-up trainer” gadgets sold by infomercials.
FAQ
How many pull-ups should I be able to do?
Benchmarks for healthy adults: 1 strict pull-up = base fitness. 5 = good. 10 = strong. 15-20 = athletic. 20+ = elite. For women, those numbers shift down slightly due to body composition differences but the relative benchmarks are similar.
Should I do pull-ups every day?
2-3 dedicated sessions per week is the sweet spot. The exception is “grease the groove” training — doing 1-3 reps multiple times per day at submaximal effort, every day. That works because no single set causes deep fatigue.
Why can’t I do a single pull-up?
Three possible reasons: insufficient back/arm strength (the most common), too much bodyweight relative to current strength, or not training the actual movement (only doing lat pull-downs). Follow the 4-step progression above for 8-12 weeks and most people get there.
Are pull-ups better than rows?
Different movements, both important. Pull-ups train vertical pulling (lats, biceps). Rows train horizontal pulling (mid-back, rear delts). A well-balanced back routine includes both. If you only do one, do pull-ups — they have higher carryover to athletic movement.
Do pull-ups make you taller?
No. The “decompression” of hanging adds 1-2 cm temporarily but it’s not permanent height. Once your growth plates close (late teens), exercise can’t lengthen your bones. Pull-ups can improve posture and spinal decompression, which makes some people stand taller in practice.
What muscles do pull-ups work?
Primary: latissimus dorsi (lats), biceps, rhomboids, rear deltoids. Secondary: forearms, core, lower traps. It’s one of the most complete upper-body movements you can do — five major muscle groups in one exercise.
Can older adults learn pull-ups?
Yes, but the timeline lengthens. The progression is the same — dead hangs, scapular pulls, negatives, banded reps — just expect 16-24 weeks instead of 8-12. Existing shoulder issues should be cleared by a physical therapist before starting heavy pull-up training.
More form guides, strength progressions, and bodyweight training in our fitness library.
Related on EatFitFuel